
Last updated October 31, 2026
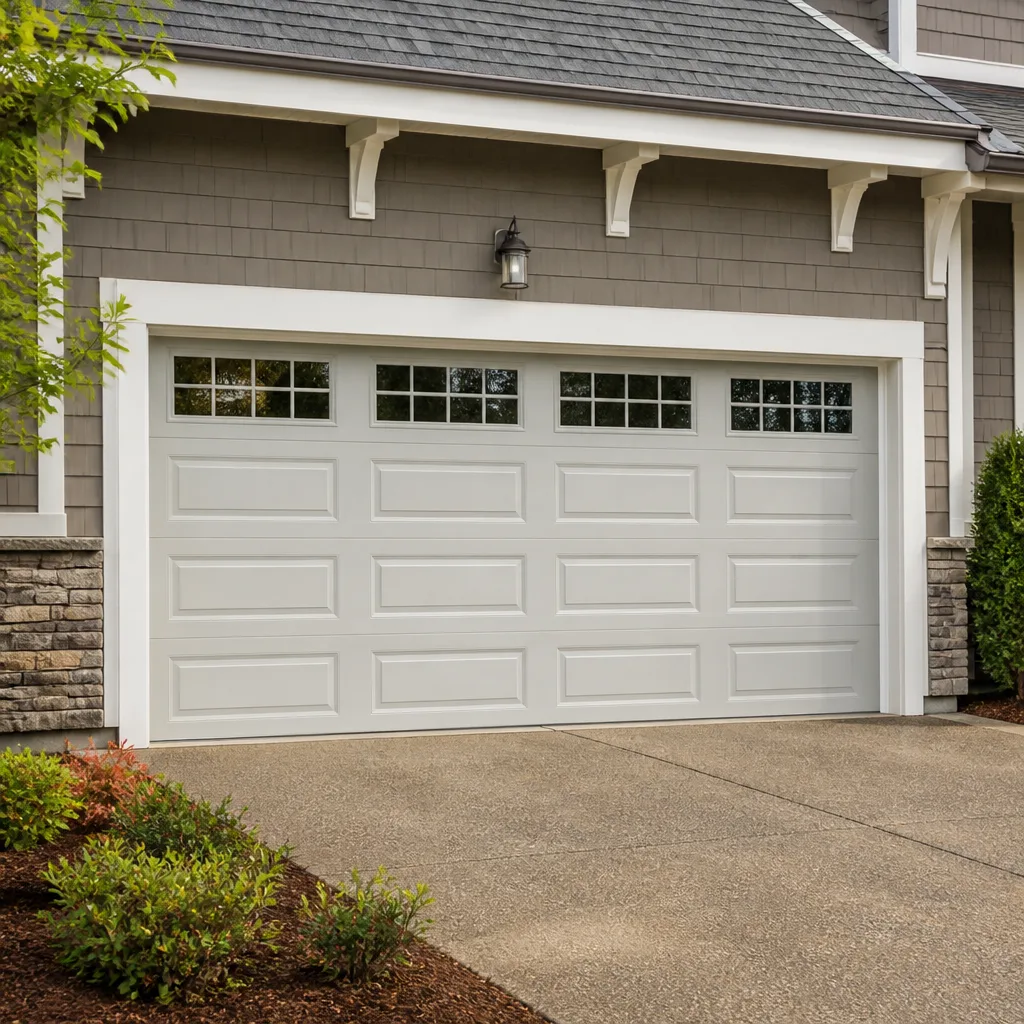 Raised-panel steel
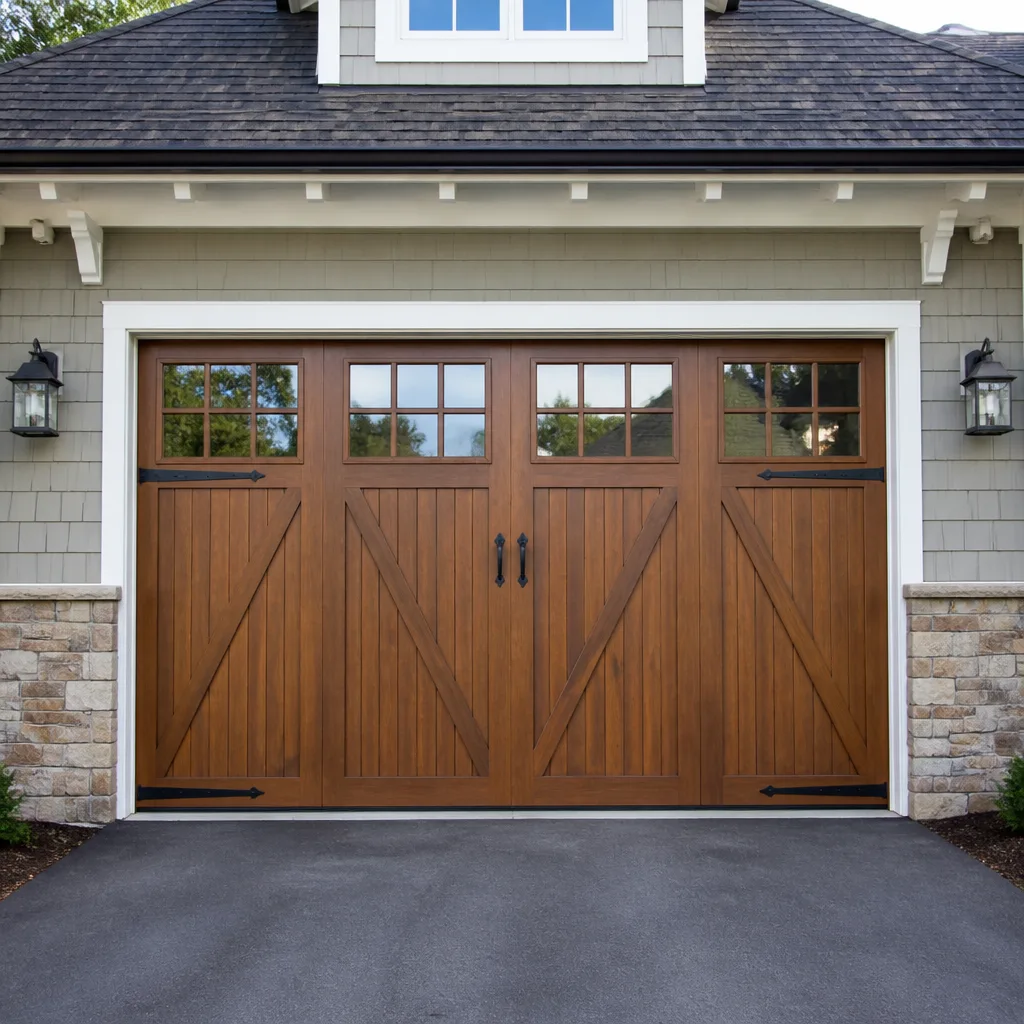 Carriage house
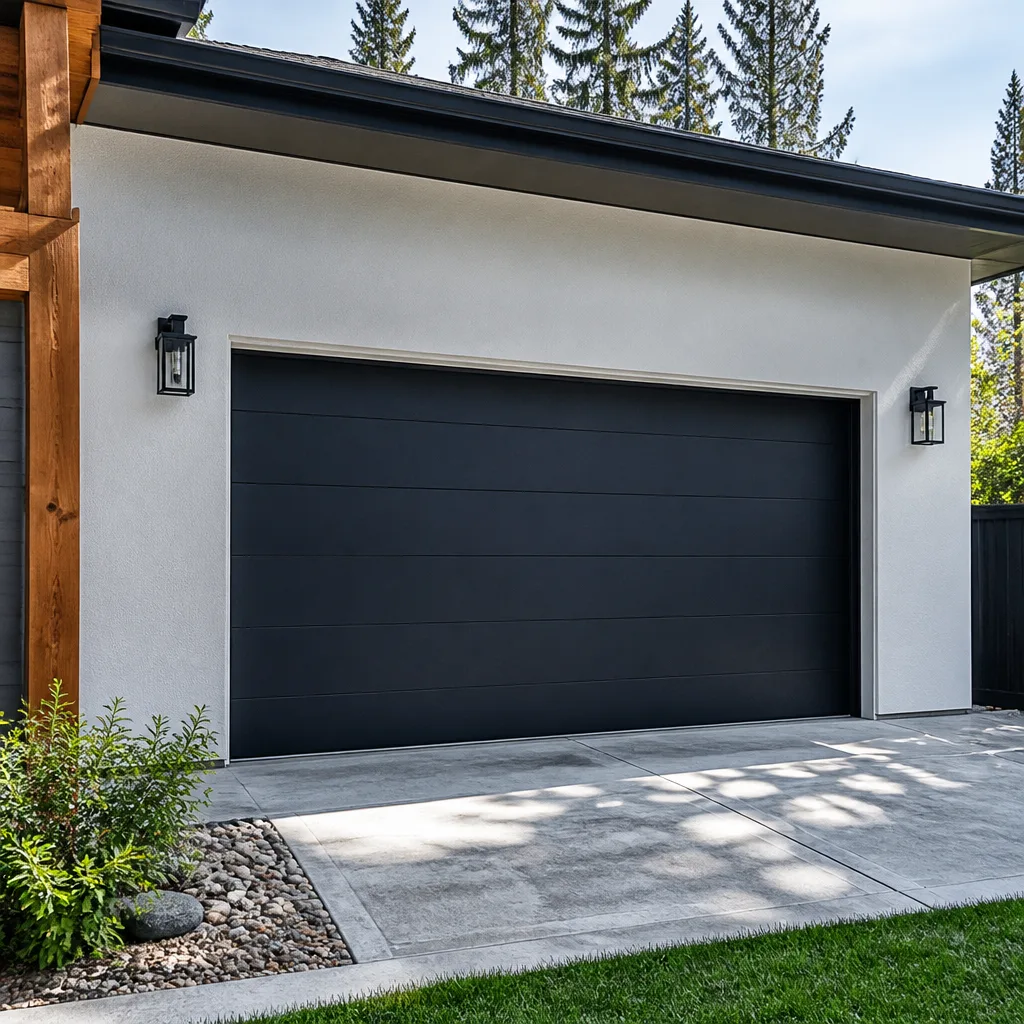 Modern flush
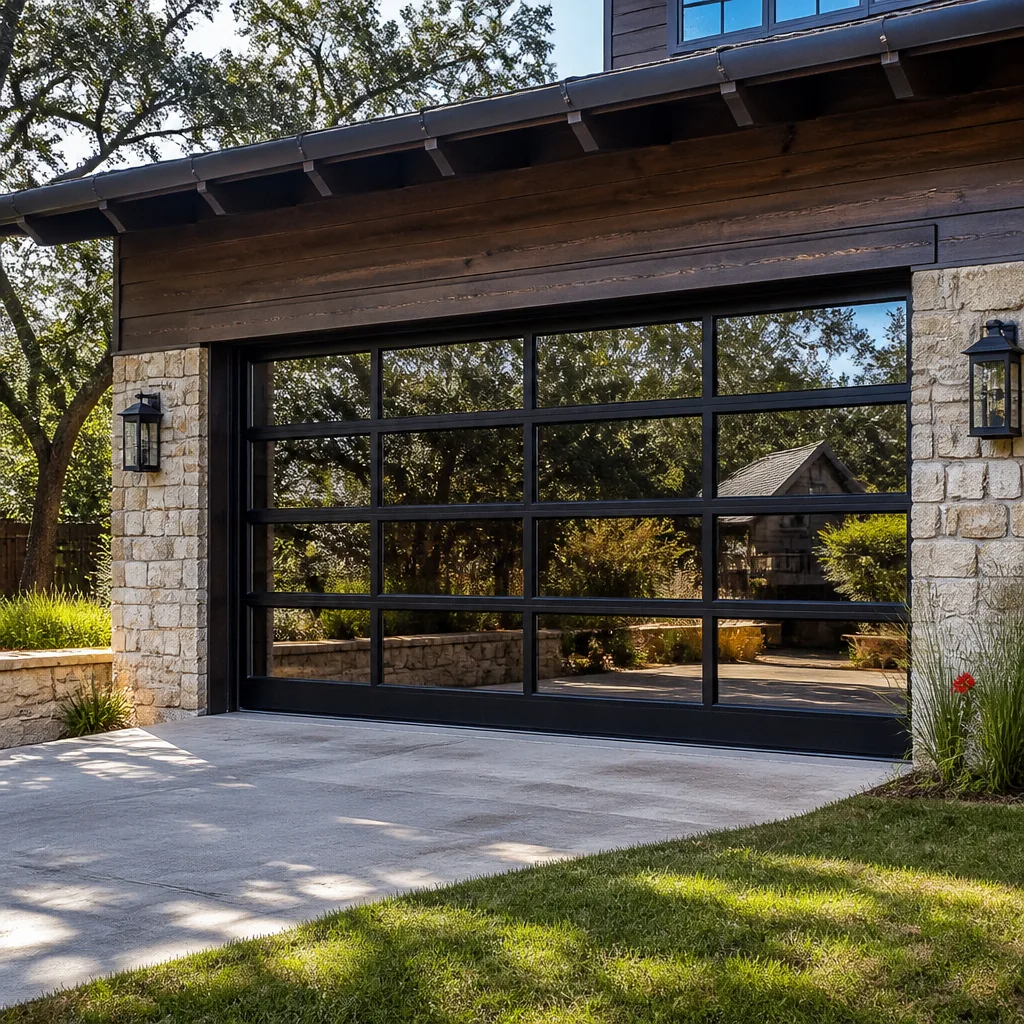 Full-view glass
 LiftMaster openers
 Chamberlain openers
Full 25-point door and opener safety check with every visit - springs, cables, rollers, tracks, and your LiftMaster or Chamberlain opener included
You get a price before we start. It does not change when the truck arrives.
Get your free estimateGarage Door Repair Troubleshooting: Common Problems and How to Fix Them
Your opener didn’t fail. Your spring did – and the opener just gave up trying. That single distinction determines whether you spend $90 on a spring replacement or $400 on a new opener you never needed. Most garage door problems in Kissimmee trace back to the mechanical hardware: springs, cables, rollers, and tracks. The electronics get blamed, but they’re rarely the culprit. This guide flips the diagnostic sequence so you can identify the real problem in minutes, know exactly which fixes are safe to handle yourself, and recognize the hard stop where our Garage Door Repair services become non-negotiable.
Styles & brands we work with
Quick Answer
Garage door troubleshooting starts with the mechanical system, not the opener. Check the springs, cables, and tracks first – broken torsion springs are the most common failure and make the door far too heavy for the opener to lift. Begin with a visual inspection of hardware before touching any sensor or remote. Most sensor and opener issues turn out to be misalignment or obstruction, not electronic failure. If the springs are intact and the door moves manually with reasonable effort, the problem is likely in the opener, sensors, or limit settings.
Table of Contents
- Why Mechanical Problems Get Misdiagnosed as Opener Failures
- Torsion and Extension Springs: The Most Overlooked Culprit
- Cables Off the Drum and Bent Tracks: What They Sound Like
- Diagnosing by Sound: Four Noises That Pinpoint the Problem
- Sensor Misalignment vs. Sensor Failure: The Two-Minute Field Test
- What’s Safe to Fix Yourself – and Where the Hard Stop Is
- How to Document the Problem for an Accurate Phone Quote
- Common Mistakes to Avoid
- When to Call a Professional
- Frequently Asked Questions
- The Bottom Line
Why Mechanical Problems Get Misdiagnosed as Opener Failures
In our experience across Kissimmee neighborhoods, roughly 8 out of 10 garage door failures originate in the mechanical hardware, not the opener. Springs fatigue and snap. Cables slip off drums. Rollers seize and chew up tracks. The opener gets blamed because it’s the visible, electronic component – it’s what responds when you press the button. But an opener is just a motor with a limit switch. When the door’s mechanical system fails, the opener either can’t move the additional weight or trips its safety mechanism and shuts down.
The diagnostic sequence matters because it saves money. A homeowner who replaces the opener without checking the springs discovers the new opener still won’t lift the door. A technician who starts at the logic board wastes an hour when the real issue is a frayed cable. Here’s the sequence we use on every service call, and it’s the same one you can apply in your own garage, or read more about in Garage Door Warning Signs: A Kissimmee Homeowner’s Reference Guide:
- Disconnect the opener – pull the red emergency release cord so the door moves manually.
- Lift the door by hand – a properly balanced door moves smoothly with 8 to 10 pounds of effort and stays put when you release it at waist height.
- Inspect springs – look for a visible gap in the torsion spring above the door or stretched, separated extension springs along the side tracks.
- Check cables – confirm they’re seated in the drums and free of fraying.
- Inspect tracks and rollers – look for bends, rust, debris, or roller wobble.
- Only after all of that do you reconnect the opener and test electronics.
This sequence works because it isolates the heaviest, most dangerous components first. If the door is hard to lift by hand, you’ve found your problem before ever touching a sensor or remote. The Journeyman Garage Door Repair home team follows this exact order on every diagnosis, which is why we get to the real fault faster than a generalist who starts at the wall button.
Torsion and Extension Springs: The Most Overlooked Culprit
Garage door springs carry penalties in Kissimmee’s heat and humidity. The constant expansion and contraction of Florida’s temperature swings accelerates metal fatigue. Most residential springs are rated for 10,000 cycles – roughly 7 to 10 years of normal use – but Florida’s climate can shorten that lifespan significantly. When a torsion spring snaps, the sound is unmistakable: a gunshot-like crack from the garage. When an extension spring fails, the door drops suddenly to whichever side lost tension.
Here’s how to identify spring failure before touching anything:
- Visual gap in torsion spring – the spring above the door will show a clean break, usually a 1 to 2 inch separation.
- Door too heavy to lift – with the opener disconnected, a one-car door should lift with one hand. If it feels like 80 pounds of deadweight, the spring is broken or severely fatigued.
- Door opens 6 inches then stops – the opener strains against the full weight and trips its internal overload protection.
- One side hangs lower – a single broken spring on a two-spring system causes the door to rack and bind in the tracks.
Safety hard stop: torsion springs are under extreme tension. A single spring on a double-door can hold 200 to 400 pounds of stored energy. Attempting to adjust, replace, or even casually inspect a torsion spring without proper winding bars and training can cause severe injury or death. This is the one component where DIY ends and professional work begins. The Garage Door Repair in Lakeland Highlands team carries the proper tools and training for every spring configuration across LiftMaster, Chamberlain, Genie, Clopay, Amarr, Wayne Dalton, Craftsman, and Raynor systems.
Extension springs are less dangerous but still require safety cables. If your side-mounted springs lack a safety cable running through their center, the spring becomes a projectile if it breaks. We see this often in older Kissimmee homes near the historic downtown district, where garage doors haven’t been updated since the 1990s.
Cables Off the Drum and Bent Tracks: What They Sound Like
Cables and tracks fail loudly, but differently than springs. A cable that slips off its drum produces a grinding, metallic scrape as the cable flails against the shaft. A bent track creates a rhythmic thump or a squeal as the roller fights through the damaged section. These sounds often precede a complete failure by days or weeks – enough time to catch the problem before the door jams permanently.
How to Check Cables and Tracks
- Look for cable slack – with the door closed, examine both cables on either side. Tight cables should span taut from the drum to the bottom bracket. Any slack, visible fraying, or kinking means the cable is compromised.
- Run a flat hand along the track – feel for dents, rust scaling, or gaps between the track and the wall. Florida humidity causes internal track corrosion even on doors that look clean on the outside.
- Watch the rollers during operation – have someone press the opener and observe. Rollers should glide without wobble. A roller that bounces or squeals is either worn or binding in a bent track section.
- Check the track bolts – loose lag bolts allow the track to flex, which throws rollers off alignment and accelerates wear.
In Kissimmee, we regularly see track issues caused by vehicle impact. A bumper tap that seems harmless can push the track inward by half an inch – enough to bind the rollers and strain the opener. The Garage Door Installation in Lakeland Highlands crew has replaced entire track systems on doors where the homeowner thought they needed a new panel.
Diagnosing by Sound: Four Noises That Pinpoint the Problem
Sound is the fastest diagnostic tool a homeowner has. Before you call for service, stand in the garage with the door closed and hit the opener. Listen for the character of the noise:
- A sharp crack like a gunshot – broken torsion spring. The spring fails under load and releases its stored energy in an instant. The door will not lift, and the opener will sound like it’s working hard but achieving nothing.
- A grinding, shredding sound – cable off the drum or a stripped opener gear. If the sound is at the top of the door near the shaft, it’s the cable. If the sound is inside the opener housing, it’s stripped nylon gears inside the motor unit.
- A rhythmic bang or thump during travel – bent track section or a broken roller. The noise repeats at the same point in the door’s travel every time.
- A high-pitched squeal that never stops – dry or seized rollers, or a worn opener belt. Spraying garage-door-rated lubricant on the roller bearings may resolve the squeal; if not, the roller needs replacement.
- Check both sensor lights – each sensor has an LED. On LiftMaster and Chamberlain models, a solid amber light on the sending sensor and a solid green on the receiving sensor means alignment is good. A blinking light on either side indicates misalignment or a blocked beam.
- Block the beam with your hand – when you break the beam, the receiving sensor light should change. If the light doesn’t react, you’ve found the dead sensor.
- Align by eye first – adjust the bracket until both LEDs show solid illumination. You’d be surprised how often gentle pressure on the bracket is all it takes.
- Shade the sensor – in Kissimmee’s afternoon sun, direct sunlight on the receiving sensor can wash out the infrared beam. A toilet paper tube taped over the sensor face as a temporary shade can confirm whether sunlight is the culprit.
- Check the wiring – if the sensor LEDs don’t light at all, inspect the wire staples along the track. A staple driven too tight can short the low-voltage wiring.
- Sensor realignment – loosen the bracket wing nut, adjust, tighten. No exposure to tension.
- Lubricating rollers and hinges – use a garage-door-rated spray lubricant, not WD-40, which collects dust and accelerates wear.
- Tightening loose track bolts – a socket wrench on the lag bolts, without loosening the track brackets that adjust door travel.
- Replacing the opener remote batteries – obvious, but surprisingly common. One dead remote doesn’t mean a dead opener.
- Clearing debris from the photo eye – garden spider webs and grass clippings block the beam regularly in Kissimmee’s humid climate.
- Anything involving torsion springs – winding, unwinding, adjustment, replacement. The stored energy can kill. Do not touch.
- Cable replacement – cables work in tandem with springs. If you release the wrong tension point, the cable whips with enough force to sever fingers.
- Track straightening or replacement – a bent track under load can snap during adjustment.
- Opener circuit board replacement – modern logic boards are static-sensitive and model-specific. A wrong part destroys the whole unit.
- Door panel replacement – individual panels are under spring tension. Removing one shifts the balance and can bring the whole door down.
- What happened, in order – Did the door work this morning and fail this afternoon? Did it fail gradually over a week? Progressive failure points to wear; sudden failure points to a break.
- What you heard – Was there a bang, a grind, a squeal, a thump? The sound signature narrows the problem dramatically.
- What you see – Any visible spring gap, cable slack, track bend, or roller damage? Take a photo if you can, even a phone photo.
- What the opener does – Does it hum? Click? Run the full cycle but the door doesn’t move? Nothing at all?
- Does the door move manually? – Pull the release cord and try to lift. Heavy means spring. Smooth but stuck means track or opener.
- The door’s brand and approximate age – a Clopay, Raynor, Wayne Dalton, or Amarr door from 2005 takes different parts than a 2020 Chamberlain system. We service the brand you have, but the brand determines parts availability and pricing.
- Replacing the opener before checking the mechanical system – a new opener can’t lift a door with a broken spring. You’ll spend $400 and still need spring work.
- Spraying lubricant on the tracks – garage door tracks should stay dry. Lubricant on tracks collects dust and creates a grinding paste that wears rollers faster. Lubricate the roller bearings and hinges, not the track surface.
- Ignoring a noisy door because it “still works” – noise is the earliest warning. A grinding cable or squealing roller is cheaper to fix before it snaps or seizes.
- Adjusting the spring tension yourself – extension springs have some adjustability, but any spring under tension is a hospital visit waiting to happen without the right tools and training.
- Forcing the door when it binds – using the opener repeatedly on a stuck door strips the nylon gear inside the motor. After two failed attempts, discontinue use and diagnose.
- Assuming all openers use the same sensors – LiftMaster, Chamberlain, Genie, and Raynor sensors aren’t interchangeable. Mixing brands causes intermittent failures that defy diagnosis.
- Waiting until the door falls – in Kissimmee’s rental-heavy neighborhoods near the US-192 corridor, deferred maintenance is common. A door that’s been noisy for six months isn’t fine. It’s waiting to fail at the worst possible moment.
One clarifying detail: a stripped gear inside the opener sounds scratchy and plastic, not metallic. LiftMaster and Chamberlain openers manufactured in the last 15 years use nylon gears as a sacrificial failure point. That means if the door binds, the gear strips before the motor burns out – a $40 part instead of a $200 motor. If you hear plastic grinding from the opener housing with the door disconnected, the gear is the likely culprit.
Sensor Misalignment vs. Sensor Failure: The Two-Minute Field Test
The most misdiagnosed garage door complaint in Kissimmee is “my door won’t close.” The door opens fine, reverses immediately after touching the floor, or refuses to move down at all. Homeowners assume the opener is failing. The reality is usually a sensor issue – either misalignment, a dirty lens, or direct sunlight interference.
Here’s the field test that separates misalignment from true sensor failure:
Genuine sensor failure is rare. In most cases, it’s alignment or sun glare. If you’ve confirmed the sensor is dead, replacement is straightforward – Genie and Chamberlain sensors are brand-specific but widely available. If you’re not comfortable with low-voltage wiring, call a specialist rather than guessing. The Garage Door Opener Repair in Lakeland Highlands team sees sensor problems daily and resolves them with the correct brand-matched parts.
What’s Safe to Fix Yourself – and Where the Hard Stop Is
Not all garage door repairs are created equal. Some are genuinely safe for a homeowner with basic tools and patience. Others require training and specialized equipment, as covered in How to Hire a Garage Door Contractor in Kissimmee: A Step-by-Step Guide. The line isn’t blurry – it’s a hard stop.
Safe for Homeowners
The Hard Stop – Call a Professional
The Journeyman standard is “the door works, or we’re not done.” That applies whether you do the work yourself or call us. What we don’t do is watch a homeowner take on a torsion spring with a pair of vise grips because a YouTube video said it was easy. The hard stop exists for a reason.
How to Document the Problem for an Accurate Phone Quote
A large portion of our Kissimmee calls start with “my garage door is broken” and nothing else. That’s not enough to quote accurately over the phone, which means either an under-quoted job that changes on arrival or an unnecessary diagnostic visit. Here’s what to note before you pick up the phone:
When you call Journeyman Garage Door Repair at (833) 589-8916 with this information, you’ll get a quote that holds because you’ve already done the diagnostic groundwork. That’s the difference between a $99 “diagnostic visit” that becomes $350 and an honest phone quote that matches the invoice. Price is quoted and agreed before any work starts – always.
Common Mistakes to Avoid
When to Call a Professional
Call a professional the moment a torsion spring breaks, a cable frays, a track bends, or the door refuses to move safely. These are not learning opportunities – they’re injury risks. A garage door weighs between 150 and 400 pounds, and the components that move it are under active tension even when the door sits closed. If you’ve completed the diagnostic steps in this guide and identified a mechanical problem, stop there. The repair is still specialized work requiring training that Journeyman-level technicians earn through thousands of doors, not a weekend project.
Journeyman Garage Door Repair offers free estimates in Kissimmee – call (833) 589-8916 and describe what you found using the documentation checklist above. We service LiftMaster, Chamberlain, Genie, Clopay, Amarr, Wayne Dalton, Craftsman, and Raynor systems, diagnose the actual problem with a repair-first mindset, and quote every job before work begins.
Frequently Asked Questions
A running opener with no door movement almost always means a broken spring or a stripped gear. Disconnect the opener and try lifting the door by hand. If it’s too heavy to lift, the spring has snapped and the opener is working against dead weight. If the door moves easily, the opener’s internal gear has stripped. Call (833) 589-8916 for a diagnosis – a stripped gear is a $40 part, not a new opener.
A garage door that reverses on closing usually has misaligned photo-eye sensors, a blocked sensor beam, or sun glare on the receiving sensor. Check that both sensor LEDs glow steadily. In Kissimmee’s afternoon sun, direct light on the sensor lens can mimic a blocked beam. Align or shade the sensor before assuming it’s failed. If the reversal happens only at the floor, the close limit setting may need adjustment.
No. Torsion springs hold hundreds of pounds of stored energy and require specific winding bars and training. A failed attempt can cause severe injury or death. Extension springs are slightly less dangerous but still require safety cables and careful tension work. This is the one repair where “saving $200” is never worth the risk.
Garage door spring replacement in Kissimmee typically runs $180 to $340 depending on spring size and door weight. Cable replacement averages $150 to $220. Sensor repair or replacement runs $90 to $180. Opener gear replacement sits around $140 to $220. Every Journeyman Garage Door Repair quote is confirmed before work starts – the price you approve is the price you pay. Call (833) 589-8916 for an exact number on your door.
Loud garage doors typically suffer from dry roller bearings, worn rollers, loose track bolts, or a frayed cable dragging against the drum. Lubricate the roller bearings with a garage-door-rated spray and tighten the track lag bolts. If the noise persists, a roller is likely seized or the cable is failing. Noisy doors in Kissimmee’s humidity often have internal track corrosion accelerating roller wear.
Most garage door springs are rated for 10,000 cycles, which translates to 7 to 10 years of average use. Florida’s heat, humidity, and salt air can shorten that lifespan by 15 to 20 percent. If your springs are over 7 years old and you hear creaking when the door moves, they’re approaching failure – schedule a replacement before the spring snaps unexpectedly and leaves your door stuck shut.
The Bottom Line
Garage door troubleshooting works best when you check the mechanical system before the electronics. Springs break before openers fail. Cables fray before tracks bend. Sensors get misaligned before they die. Noticing the sound, weight, and visible damage gives you a diagnosis in minutes – and saves you from replacing a perfectly good opener. For Kissimmee homeowners, the rule is simple: if it’s mechanical or dangerous, call a specialist. If it’s a sensor or a battery, handle it yourself if you’re comfortable. And when the problem is beyond a hard stop, Journeyman Garage Door Repair is a call away at (833) 589-8916. The door works, or we’re not done. For more guides & resources, visit our blog.
Written by the team at Journeyman Garage Door Repair, serving Kissimmee since 2011.
See the difference
 Before
 After
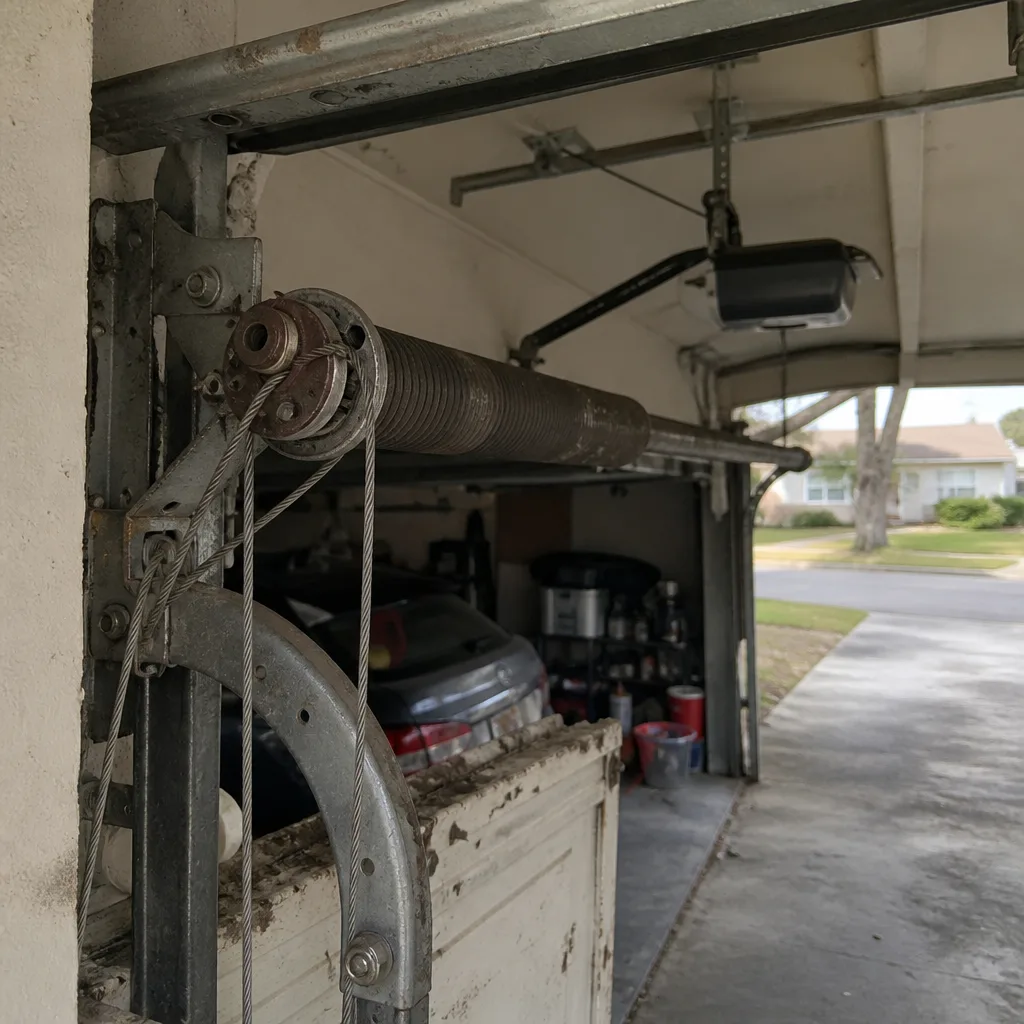 Before
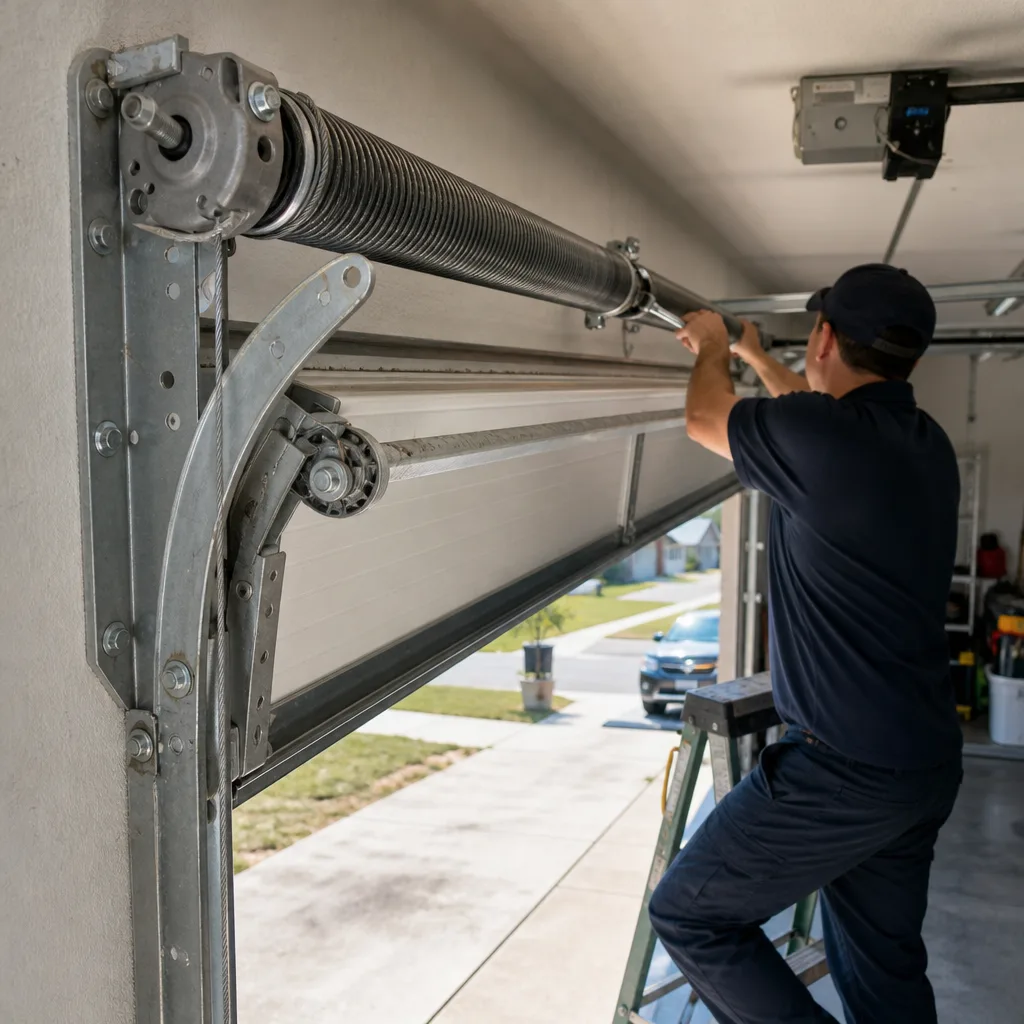 After
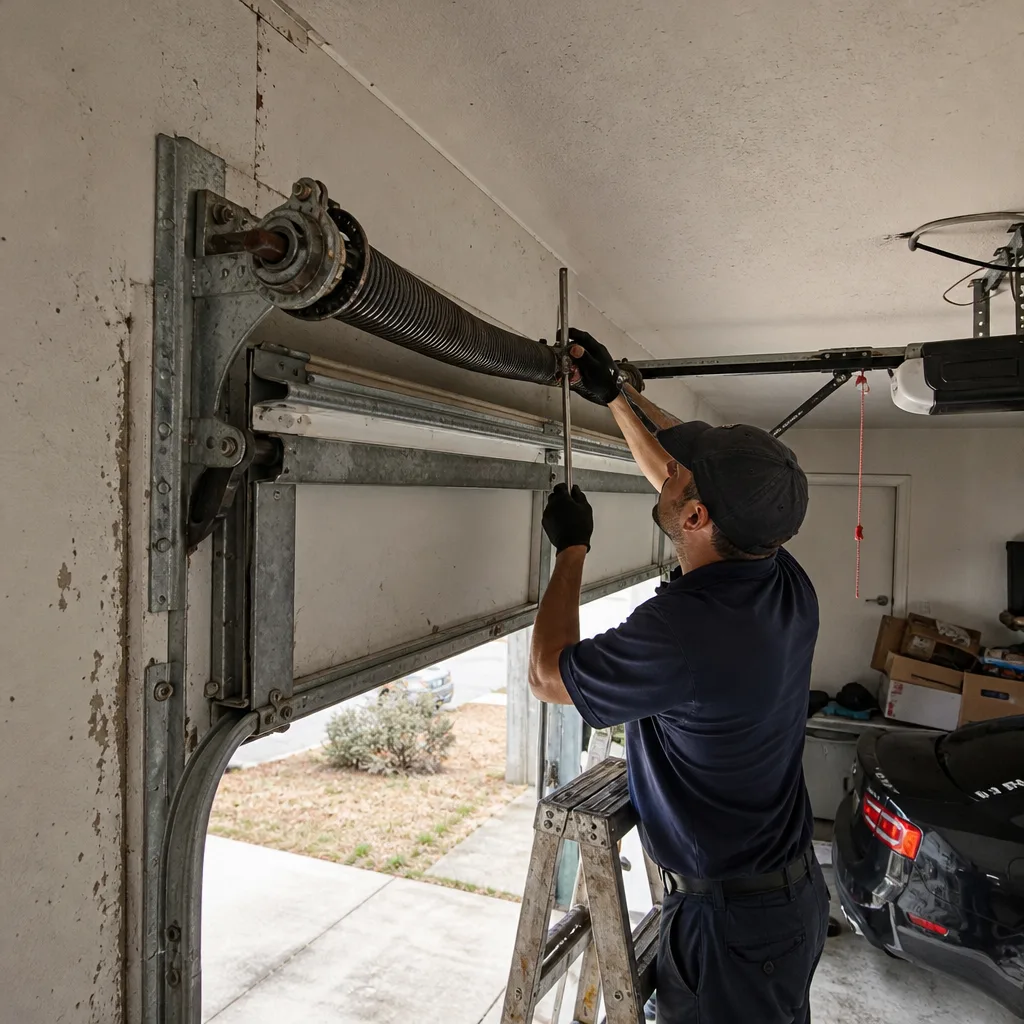 Before
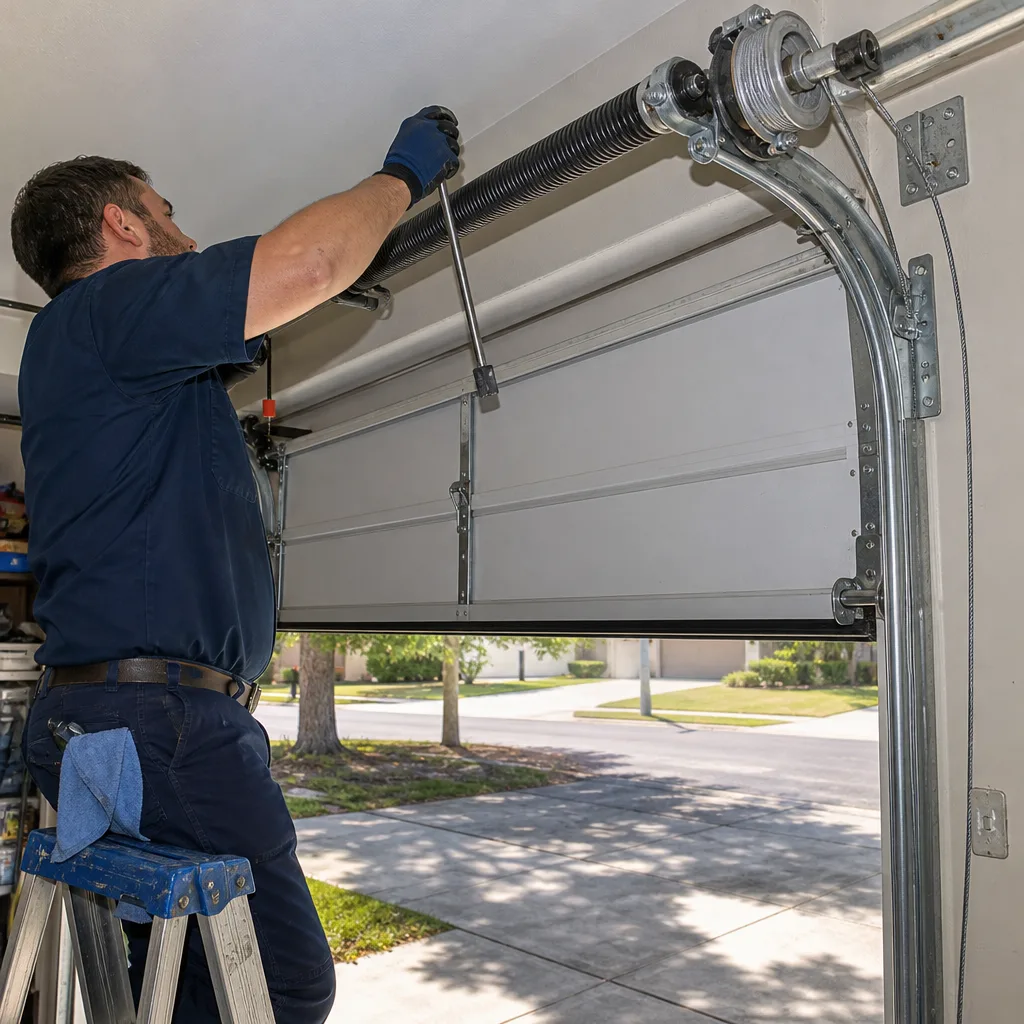 After