
Last updated October 31, 2026
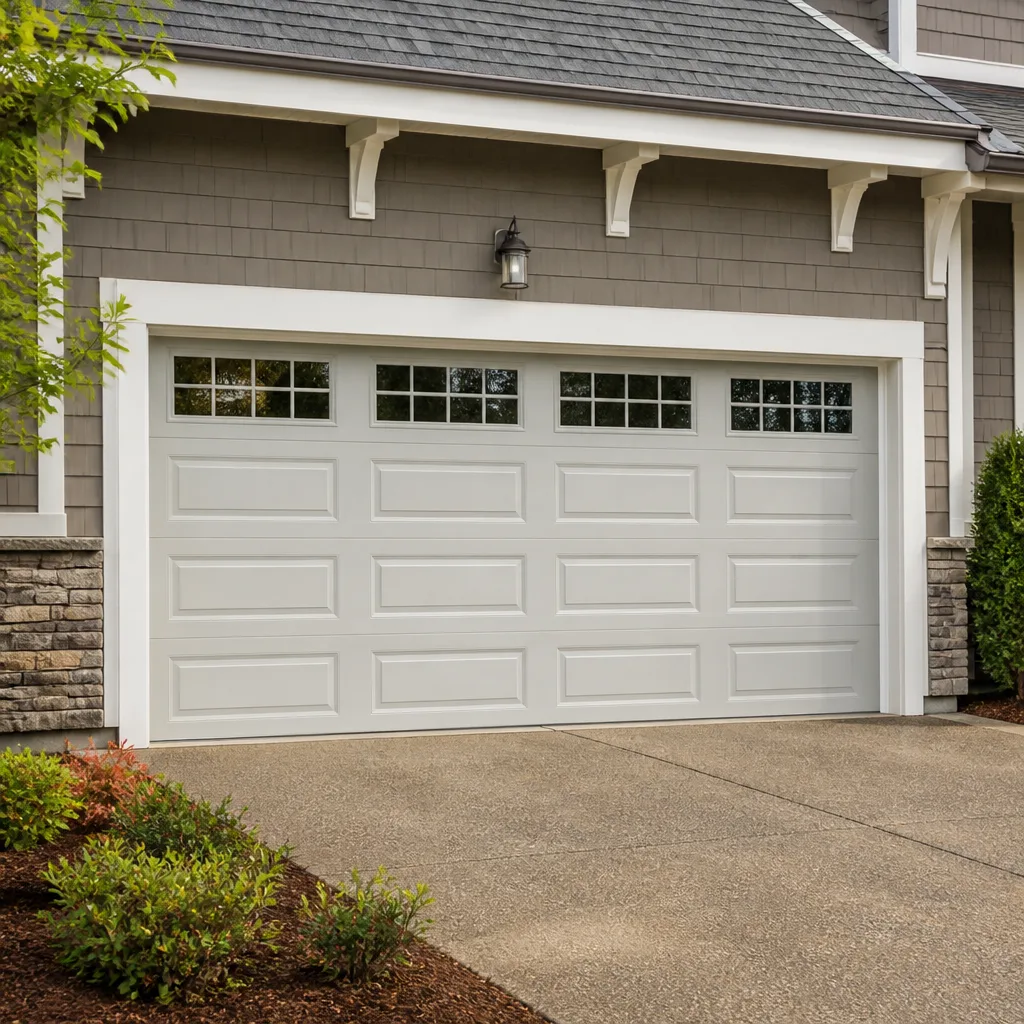 Raised-panel steel
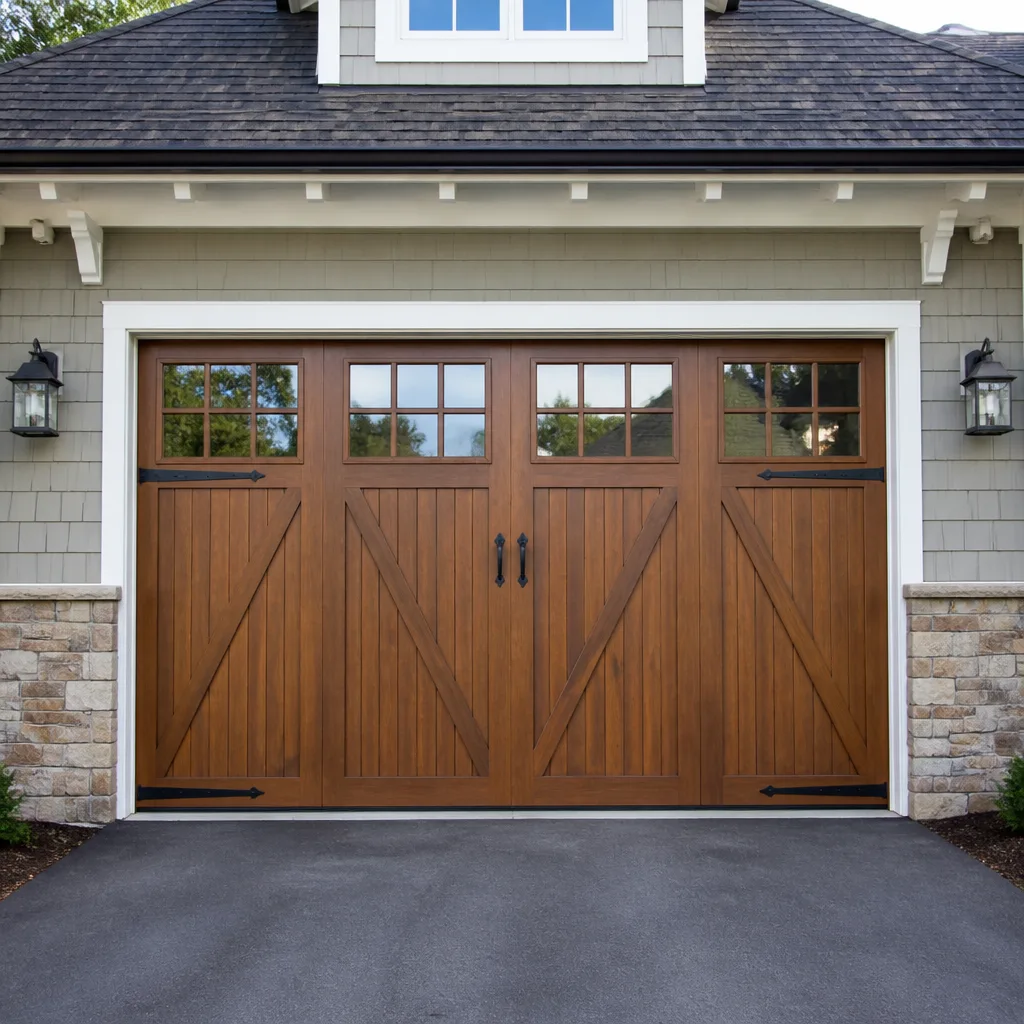 Carriage house
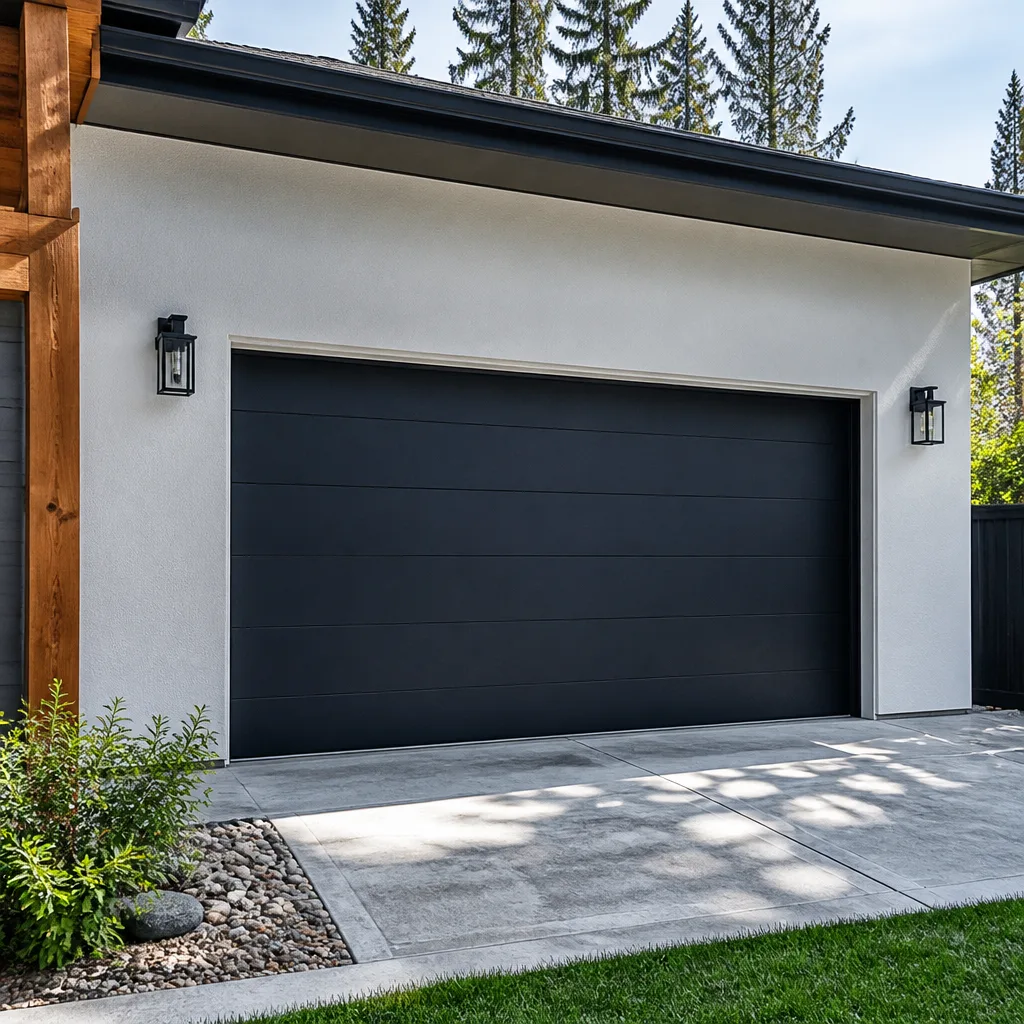 Modern flush
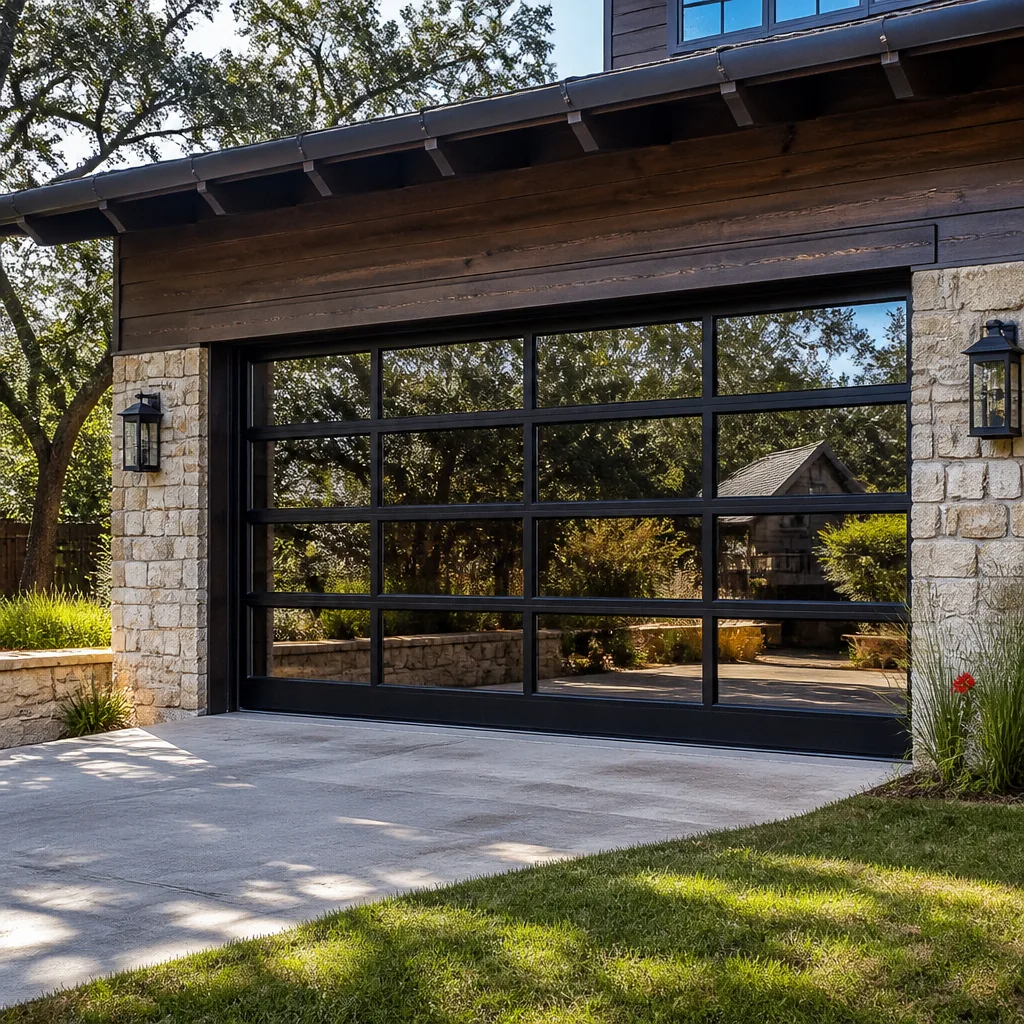 Full-view glass
 LiftMaster openers
 Chamberlain openers
Full 25-point door and opener safety check with every visit - springs, cables, rollers, tracks, and your LiftMaster or Chamberlain opener included
You get a price before we start. It does not change when the truck arrives.
Get your free estimateGarage Door Repair Maintenance Checklist for Kissimmee Homeowners
A torsion spring rated for 10,000 cycles in a climate-controlled testing lab can lose 20 to 30 percent of its working life in a Kissimmee garage. The combination of heat, humidity, and the salt-adjacent air we get from afternoon storms doesn’t just wear parts down faster, it changes which parts fail first and what those failures look like. Most homeowners never know their door is degrading until a cable snaps or a spring lets go mid-cycle. This guide covers the exact checks that matter in our climate, the right way to perform them, and the maintenance schedule that gives your door the longest possible run before a Garage Door Repair bill shows up.
Quick Answer
A garage door maintenance checklist for Kissimmee homeowners should cover monthly visual inspections of rollers, cables, hinges, and the bottom weather seal, seasonal lubrication of rollers and springs with the correct products (silicone spray on rollers, white lithium grease on springs, never WD-40), and an annual force-sensitivity balance test on the opener. Florida’s humidity accelerates corrosion, so weatherstripping and metal hardware need more frequent attention here than the national averages manufacturers print in their manuals suggest.
Styles & brands we work with
Table of Contents
- Why Kissimmee’s Climate Changes the Maintenance Equation
- The Monthly Visual Inspection (12 Points in 10 Minutes)
- Lubrication: What to Use, Where to Use It, and Why It’s Different Here
- The Force-Sensitivity Test: What Your Opener Tells You About Spring Balance
- Weatherstripping and Seals: The Florida-Specific Wear Points
- Hardware Inspection Points Most Homeowners Skip
- The Maintenance Log: Documentation That Protects You
- Common Mistakes to Avoid
- When to Call a Professional
- Frequently Asked Questions
Why Kissimmee’s Climate Changes the Maintenance Equation
Garage door manufacturers write maintenance schedules for a national audience. The problem is that a garage in Minnesota and a garage in Kissimmee may as well be on different planets when it comes to what the hardware endures. We’ll walk through why that matters and what it means for your specific door.
Garages in Central Florida are not climate-controlled spaces. They sit somewhere between the conditioned house and the outside air, and that means the door and its hardware experience temperature swings, moisture cycles, and humidity levels that accelerate wear in ways a Midwestern garage never sees. When the air is consistently humid, bare steel components like springs, cable, and hinge pins develop surface rust faster. That surface rust creates friction. Friction generates heat. Heat fatigues metal. It’s a compounding problem that doesn’t exist in dry climates.
The second factor is the daily thermal cycle. Kissimmee afternoons routinely push garage interiors past 95 degrees, and overnight temperatures drop back into the 70s. That 20-plus degree swing causes metal and vinyl components to expand and contract on a daily schedule. Over the course of a year, that’s hundreds of expansion cycles that manufacturers don’t fully account for when they print a “10,000 cycle” rating on a torsion spring package. The spring isn’t lying, the rating just doesn’t account for our environment.
What this means practically: the maintenance intervals that manufacturers publish are a starting point, not a ceiling. If the manual says to lubricate twice a year, we recommend quarterly in Kissimmee. If the manual says to inspect weather seals annually, we recommend checking them every other month during the rainy season. The goal isn’t to be paranoid, it’s to stay ahead of a climate that never takes a day off.
The Monthly Visual Inspection (12 Points in 10 Minutes)
Most garage door problems that turn into $400 repairs started as $0 visual catches. A frayed cable doesn’t snap the day it starts fraying. A cracked roller doesn’t shatter the day the crack appears. The problem is that nobody looks. Here’s a monthly inspection routine that takes ten minutes and catches the overwhelming majority of developing failures before they become emergencies.
- Stand in the center of the garage, door closed, and look up at the torsion spring. Check for gaps between coils, rust blooms, or any coil that looks out of alignment. A healthy spring looks uniform. A spring with a visible gap has already started to fail.
- Trace each lifting cable from the bottom bracket to the drum. Look for frayed strands, rust, or any section where the cable looks flattened or kinked. Cables should sit cleanly in the drum grooves.
- Check both bottom corner brackets. These carry the cable tension. Look for rust, loose bolts, or any sign the bracket is pulling away from the door panel.
- Inspect each roller. You’re looking for cracks in nylon rollers, flat spots, or metal rollers that have visible wear on the stem. Rollers should be round and roll freely.
- Check the hinges. Look for cracks around the mounting holes, loose screws, or any hinge that appears bent. Pay extra attention to the top and bottom hinges, which carry more load.
- Examine the tracks on both sides. Look for dents, rust, or any area where the track appears to have shifted. Tracks should be parallel and clean.
- Test all door panels. Look for cracks, warping, or water damage at the seams. In Kissimmee, afternoon deluges can expose seal failures quickly.
- Check the header bracket above the door. This is the anchor point for the spring system on torsion setups. Look for any gap between the bracket and the header, or any sign the bracket has shifted.
- Look at the emergency release cord. Make sure it’s intact and hanging freely, not tangled or caught on anything.
- Test the photoelectric safety sensors. They should be aligned, with solid indicator lights, and the lenses should be clean.
- Open the door and watch it through a full cycle. Listen for grinding, popping, or squealing. The door should move smoothly and evenly without shuddering.
- Close the door and check the bottom seal. Press your hand along the seal from inside the garage and look for daylight gaps, cracks, or brittleness.
If any of these 12 points shows a problem, note it. Some issues, like a loose bolt, you can address yourself. Others, like a frayed cable or a gapped spring, need professional attention immediately. A frayed cable under tension is dangerous to work on, and a compromised spring can release stored energy without warning. When in doubt on those two components specifically, call someone who works on them daily.
Lubrication: What to Use, Where to Use It, and Why It’s Different Here
The single most common maintenance mistake we see in Kissimmee garages is also the most preventable: using the wrong lubricant, or using the right one on the wrong component. Let’s get specific about products and application, because this matters more in our humidity than it does almost anywhere else in the country.
The short version: silicone spray on rollers. White lithium grease on torsion springs. Nothing on the track itself. Never WD-40 on anything related to your garage door. WD-40 is a water displacement product and a light solvent, not a lubricant. It strips away existing lubrication and leaves metal surfaces more vulnerable to corrosion. In a humid climate, that’s actively harmful.
The full breakdown:
- Rollers (nylon): Silicone spray, applied to the bearing area where the wheel meets the stem. Silicone doesn’t attract dirt the way petroleum products do, and it doesn’t break down nylon. Apply quarterly in Kissimmee.
- Rollers (steel): Same product, same application. Steel rollers need more frequent attention because the rolling surface itself is metal. If they’re already noisy, replacement beats lubrication.
- Torsion springs: White lithium grease, sprayed along the entire length of the spring. The goal is to coat the coils so they slide against each other as the spring winds and unwinds. This reduces friction-generated heat and extends spring life. Apply quarterly.
- Extension springs: Same product, same schedule. Coat the full spring length.
- Hinges: A small amount of white lithium on the pivot point where the two hinge leaves meet. Quarterly.
- Track channel: Nothing. The track does not need lubrication. Greasy tracks collect dirt, sand, and grit from Florida’s sandy soil, which then transfers to the rollers and grinds them down. Keep tracks clean and dry.
- Lock mechanisms and handle assemblies: A light silicone spray once a year keeps the moving parts from binding in humid air.
The climate adjustment matters because humidity accelerates the breakdown of petroleum-based lubricants. What lasts six months in Arizona dries out in three months here. If you’re only lubricating twice a year on the manufacturer schedule, your rollers and springs are running dry for part of the year, and that’s when accelerated wear happens. Our recommendation for Kissimmee homeowners is a quarterly lubrication pass on rollers, springs, and hinges, which takes about 15 minutes once you know the points.
The Force-Sensitivity Test: What Your Opener Tells You About Spring Balance
Your opener has a built-in diagnostic feature that most homeowners never use. It’s called force sensitivity, and it tells you how hard the motor is working to move the door. More importantly, changes in that effort over time reveal spring fatigue before the spring actually fails. Here’s how to read it, no tools required.
Start by pulling the emergency release cord, which disconnects the door from the opener carriage. Manually lift the door to the halfway point and let go. A properly balanced door, meaning the springs are doing their job, will stay roughly in place at that midpoint. It might drift an inch or two, but it shouldn’t fall or fly up. If the door drops, your springs are under-tensioned and fatigued. If the door rises, the springs are over-tensioned, which is less common but still a problem. That’s the first diagnostic.
Now reconnect the opener and run a full cycle. If the door was stable at the midpoint, the motor should sound smooth and even throughout the cycle, without strain at any point. If you hear the motor labor near the bottom of the cycle, the springs aren’t providing enough assistance through that range. If it labors at the top, the opposite problem. That audible strain is the opener telling you the springs are no longer carrying their share of the load.
Here’s what this means financially: when springs weaken, the opener compensates. That means the opener motor, which is rated for a certain duty cycle, is working harder than designed. Harder work means more heat. More heat means shorter motor life. A $75 spring adjustment, caught early, can save you a $400 opener replacement twelve months later. In Kissimmee, where afternoon heat already stresses motors, this test matters more than it does in cooler climates. Run it every month, it takes two minutes.
Weatherstripping and Seals: The Florida-Specific Wear Points
Weatherstripping in Kissimmee fails differently than it does in other parts of the country, as covered in our Garage Door Warning Signs: A Kissimmee Homeowner’s Reference Guide. Northern garages worry about cold drafts. Our problem is water intrusion, UV degradation, and mold. The bottom seal, the side jambs, and the top seal all face different threats here, and they all need different inspection approaches.
The bottom seal on the door, that rubber or vinyl strip that runs along the bottom panel, takes the worst beating. Florida’s UV index is significantly higher than the national average, and that ultraviolet exposure breaks down vinyl compounds faster than manufacturers test for. A bottom seal that’s three or four years old in Kissimmee often shows cracking, hardening, and shrinkage that leaves daylight gaps at the corners. Those gaps are where water from a hard afternoon storm enters the garage, and they’re also where insects, including roaches and palmetto bugs, find their way in. Check the bottom seal every two months during the rainy season. Press it with your thumb, it should still be flexible. If it’s stiff or cracked, replace it. A roll of replacement seal material is under $30 and takes about 30 minutes to swap on most doors.
The side jambs are a different problem. In Florida’s humid air, the flap-style weatherstripping on the door sides often grows mold and mildew in the crevices. That mold doesn’t just look bad, it holds moisture against the door frame, which accelerates wood rot on wood-frame homes and creates a damp environment inside the garage. Clean the weatherstripping with a mild bleach solution or a commercial mold cleaner twice a year, more often if you see dark spots developing.
The top seal matters less for water intrusion and more for the thermal gap. In Kissimmee’s heat, the gap between the top of the door panel and the header expands as materials expand at different rates. Check it with the door closed on a hot afternoon, look for visible daylight. If you can throw a flashlight beam through the gap, the seal needs adjustment or replacement. This is a simple fix that keeps conditioned air in and outside heat out, which matters if your garage is attached and shares a wall with living space.
Hardware Inspection Points Most Homeowners Skip
There are three specific inspection points that almost never appear on generic garage door maintenance checklists, and they’re the three that most often precede a serious failure here in Central Florida. The first is cable drum seating. The second is roller bracket bolt torque. The third is header bracket weld integrity.
Cable drum seating: The lifting cables wrap around grooved drums at the top of the torsion bar. Those cables must sit cleanly in their grooves at all times. When a cable jumps its groove, even briefly, it creates slack on one side of the door. That slack causes the door to lift unevenly, which stresses the panels, the hinges, and the spring. In a humid climate, rust on the drum face accelerates the wear that causes cable slip. Look at the drums with the door closed, and again with the door open. The cable should be seated the same way in both positions. Any crossing, overlapping, or riding up on the drum flange is a repair call.
Roller bracket bolt torque: The rollers mount to the door through brackets that are bolted to the panels. Those bolts work loose over time, especially on doors that cycle multiple times a day. A loose bracket allows the roller to cant, which changes the load path through the track and creates binding. Binding creates heat on the roller bearing and accelerated wear on both the roller and track. Check every bracket bolt monthly with a socket wrench. If any are loose, tighten them. But be careful on the bottom brackets, which hold cable tension. Those brackets should not be loosened or removed by anyone who doesn’t understand the tension loading. If a bottom bracket bolt is loose, call a professional rather than attempting a DIY repair under load.
Header bracket weld integrity: The header bracket anchors the spring assembly to the wall above the door. It carries the full tension load of the spring system. On welded steel headers, the weld bead is the failure point. On wood headers, it’s the lag bolts pulling out. Look at the bracket with the door closed. Any gap between the bracket plate and the mounting surface, any visible cracking around a weld, or any lag bolt that appears to have backed out even a quarter inch is a red flag that requires immediate professional inspection. This is a component where failure doesn’t mean a noisy door, it means the spring assembly coming loose, which is dangerous.
The Maintenance Log: Documentation That Protects You
Here’s something most homeowners never think about until they need it: your maintenance record is your evidence in a dispute. When a torsion spring fails at 7,500 cycles and the manufacturer says it should have lasted 10,000, the warranty claim often comes down to documentation. The manufacturer will ask whether the spring was properly lubricated and whether the door was maintained according to the schedule. If you have no record, you have no claim.
Keep a simple log. It doesn’t need to be elaborate. A notebook page or a spreadsheet with four columns: date, inspection performed, findings, action taken. Every time you do a monthly inspection, log it. Every time you lubricate, log it. Every time you replace a seal or a roller, log it with the date and mileage on the part, meaning how long it’s been in service since installation. That “date in service” is the number that settles disputes, because it establishes whether a part failed prematurely relative to its expected life.
This log does something else, too. When you call a repair company, the technician can review your maintenance record and understand what’s been done and what hasn’t. That information shapes the diagnosis. We’ve seen cases where a homeowner was told by a franchise tech that a full door replacement was needed, when the real issue was a spring that had never been lubricated in six years and a cable that had been fraying for two. The maintenance log told the story, and the actual repair was a fraction of the quoted replacement cost. The log is your protection against unnecessary sales pressure, full stop.
If you’re unsure what your maintenance log should include or you want someone to walk you through a baseline inspection, a professional assessment is a reasonable first step. We provide free estimates in Kissimmee and can tell you exactly what condition your door is in and what, if anything, needs attention. Call (833) 589-8916 and we’ll put eyes on the door without any obligation.
Common Mistakes to Avoid
- Lubricating the track. Greasy tracks collect sand and grit from Florida’s soil, which grinds down rollers and creates the exact friction you’re trying to prevent. Keep tracks clean and dry.
- Using WD-40 on rollers or springs. WD-40 is a solvent, not a lubricant. It strips existing lubrication and leaves metal surfaces exposed to Kissimmee’s humidity, which accelerates rust.
- Ignoring a noisy door. Squealing and grinding are not normal. A noisy door is a door telling you something is dry, worn, or misaligned. The longer you wait, the more expensive the fix.
- Disconnecting the opener to run the door manually on a regular basis. The emergency release is for emergencies and power outages. Regular manual operation without the opener’s force limiters can mask balance problems and strain the panels.
- Replacing springs without replacing cables. When a spring fails, the cables have been through the same cycle count. New springs with old cables means you’ll be back in six months when the cable snaps. Any competent technician replaces both.
- Putting off weather seal replacement. In Kissimmee, a cracked bottom seal isn’t cosmetic, it’s an open invitation for water, insects, and humidity to enter your garage. Water on a concrete garage floor also creates a slip hazard.
- Attempting DIY spring repairs. Torsion springs store enough energy to cause serious injury or death if mishandled. This is not a YouTube tutorial project. Within the garage door repair category, spring work is the number one reason we recommend professional service.
When to Call a Professional
Some maintenance tasks are homeowner work. Some are professional territory, and the distinction comes down to stored energy. Torsion springs, extension springs, and lifting cables all operate under significant tension, and a failure during a DIY repair can cause serious injury. If you see a gap in a torsion spring coil, a frayed cable, a loose bottom bracket, or any shift in the header bracket, stop and call someone who works on garage doors daily. Same goes for any opener problem that involves the motor, the gear assembly, or the logic board.
For everything else on this checklist, most Kissimmee homeowners can handle the inspection, lubrication, and seal replacement work themselves with basic tools and a little patience. The key is consistency. A maintenance routine that happens every month prevents the surprise failures that happen every few years. If you’re not sure where your door stands, Journeyman Garage Door Repair offers free estimates in Kissimmee. Call (833) 589-8916 and we’ll inspect the door, answer your questions straight, and tell you honestly what needs attention and what can wait.
We work on the brand you have, whether that’s LiftMaster, Chamberlain, Genie, or any of the major systems on the market. Our garage door opener repair services focus on diagnosis and repair before replacement, which is the honest approach to a component that’s often fixable for a fraction of replacement cost. And when a door has reached the end of its service life, garage door installation in Lakeland Highlands area is done by the same team that diagnosed the problem, not handed off to a subcontractor.
Frequently Asked Questions
Every three months. Kissimmee’s humidity accelerates the breakdown of petroleum-based lubricants, so the twice-yearly schedule that manufacturers print in national manuals leaves your rollers and springs dry for part of the year. Quarterly lubrication with silicone spray on rollers and white lithium grease on springs keeps friction and heat at their lowest level. Call (833) 589-8916 if you want us to handle it for you.
A professional tune-up inspection with lubrication typically runs $89 to $149 in Kissimmee, depending on the door type and the condition of the hardware. Parts like bottom seals, rollers, and hinges are additional if replacement is needed. The price is always quoted and agreed before work starts, so there’s no surprises on the invoice.
Disconnect the opener using the emergency release, lift the door manually to the halfway point, and release it. A balanced door stays roughly in place. If the door drops, the springs are fatigued and under-tensioned. If it rises, the springs are over-tensioned. Either result means the springs need professional adjustment. The full step-by-step test is covered in the force-sensitivity section above.
Yes, in most cases. A bottom seal replacement involves sliding the old seal out of the retainer channel and sliding a new one in, which takes about 30 minutes with no special tools. Side jamb seals are more involved because they require removal and reinstallation of the trim, which is a bigger project. If you’re not sure which seal needs attention, call (833) 589-8916 and we’ll tell you.
The squeal is metal-on-metal friction, typically from dry rollers or a dry spring. Kissimmee’s summer heat accelerates lubricant breakdown, and an afternoon garage at 95 degrees means the lubricant that was there in February is gone by June. Lubricate the rollers and springs and the noise should stop within a day. If it doesn’t, the rollers are worn past the point where lubrication helps and need replacement.
We offer one-time tune-up visits and can advise on a maintenance interval that matches your door and your usage. Rather than selling a subscription you might not need, we’d rather inspect the door, tell you what it actually needs, and let you decide. Call (833) 589-8916 for a free estimate and an honest assessment.
The Bottom Line
A garage door in Kissimmee needs more attention than the national average, because our climate accelerates the two things that kill door hardware: corrosion and friction. Monthly visual inspections catch developing problems before they become failures. Quarterly lubrication keeps moving parts running smooth and cool. An annual look at the weather seals keeps water and humidity out of the garage. And a simple maintenance log protects your warranty claims and gives any technician the full story. Most of this is homeowner work. When it isn’t, and the problem involves tensioned springs or cables, call a professional. The door works, or we’re not done. That’s the standard at Journeyman Garage Door Repair home.
Written by the team at Journeyman Garage Door Repair, serving Kissimmee since 2011. For more guides & resources, visit our blog.
See the difference
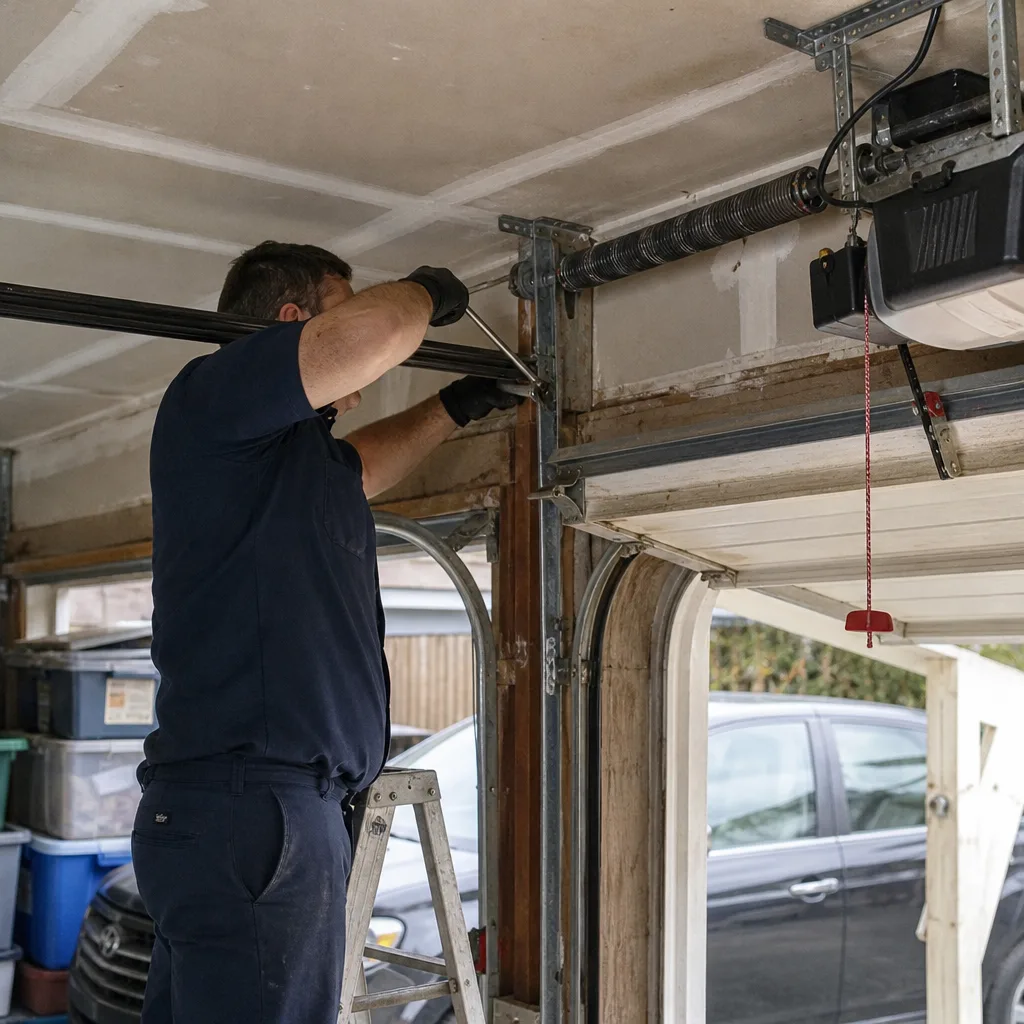 Before
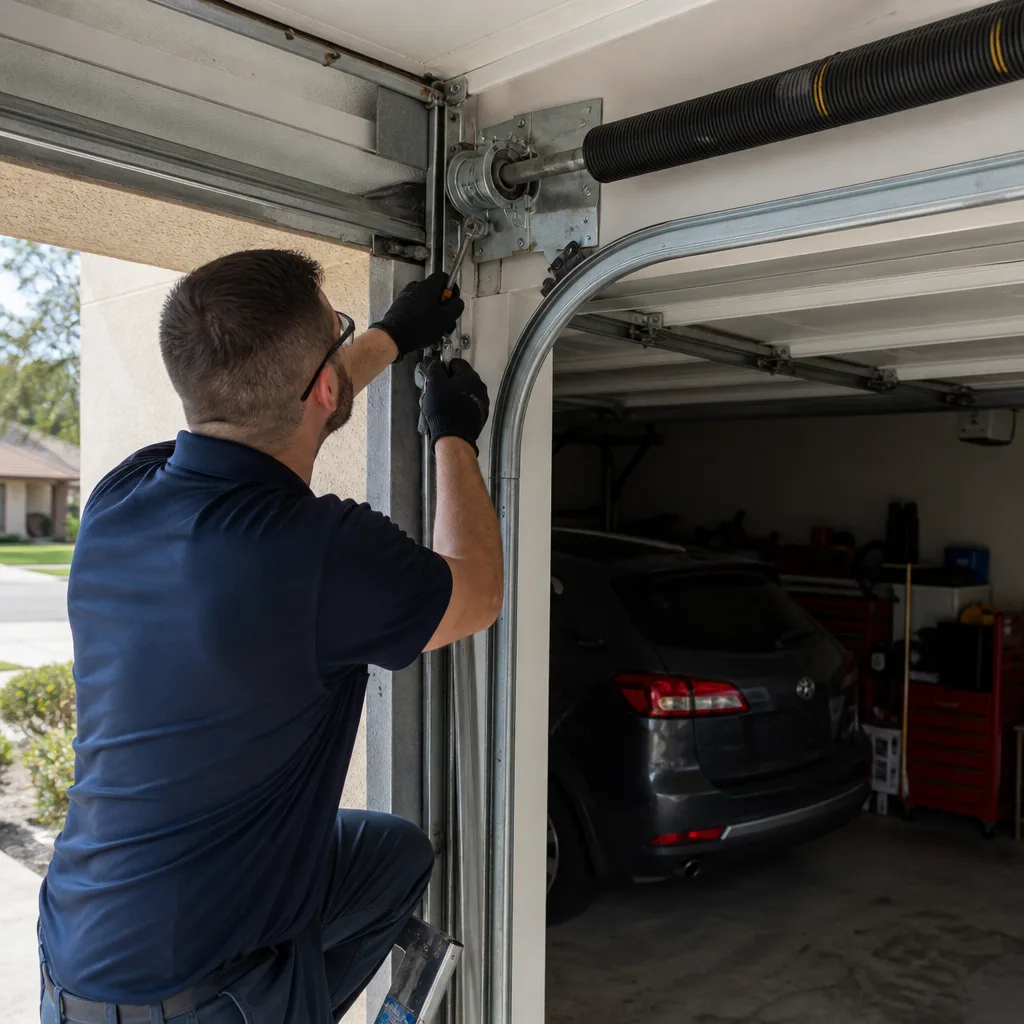 After
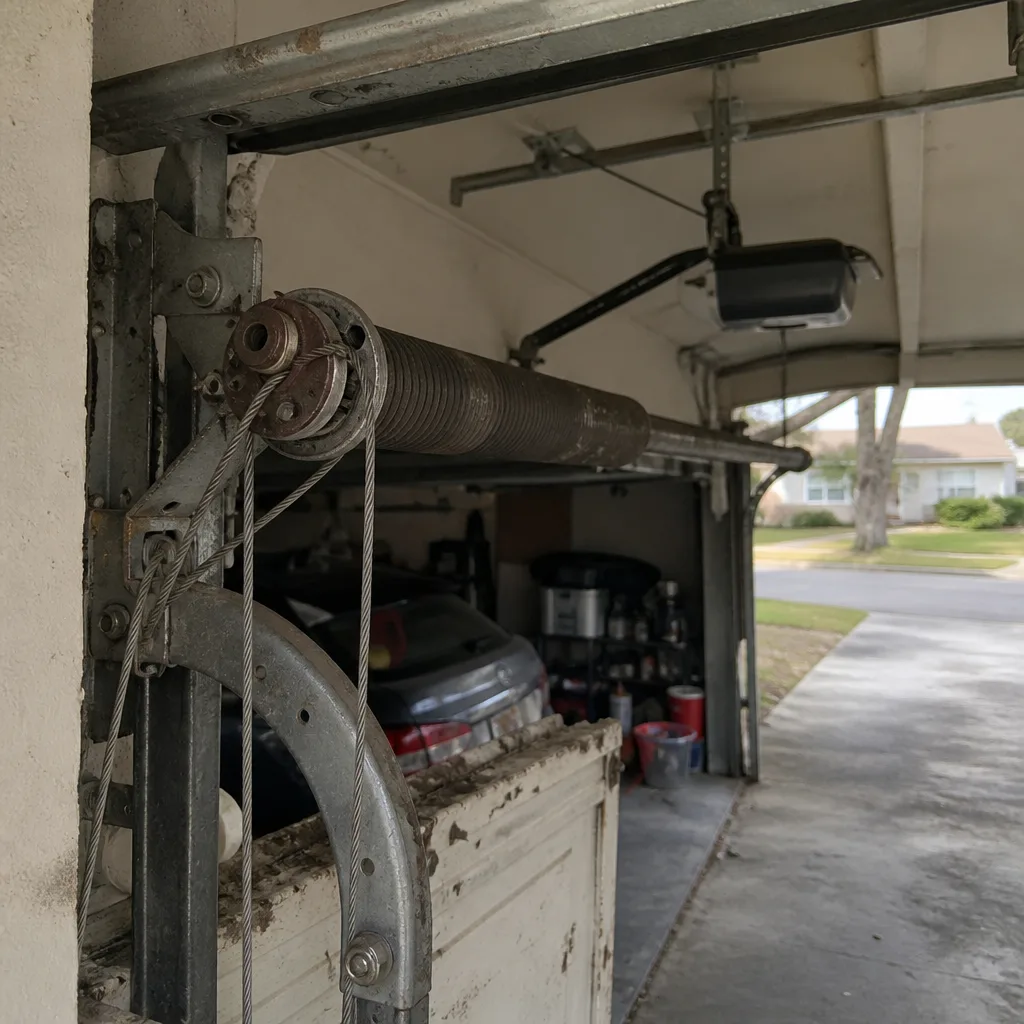 Before
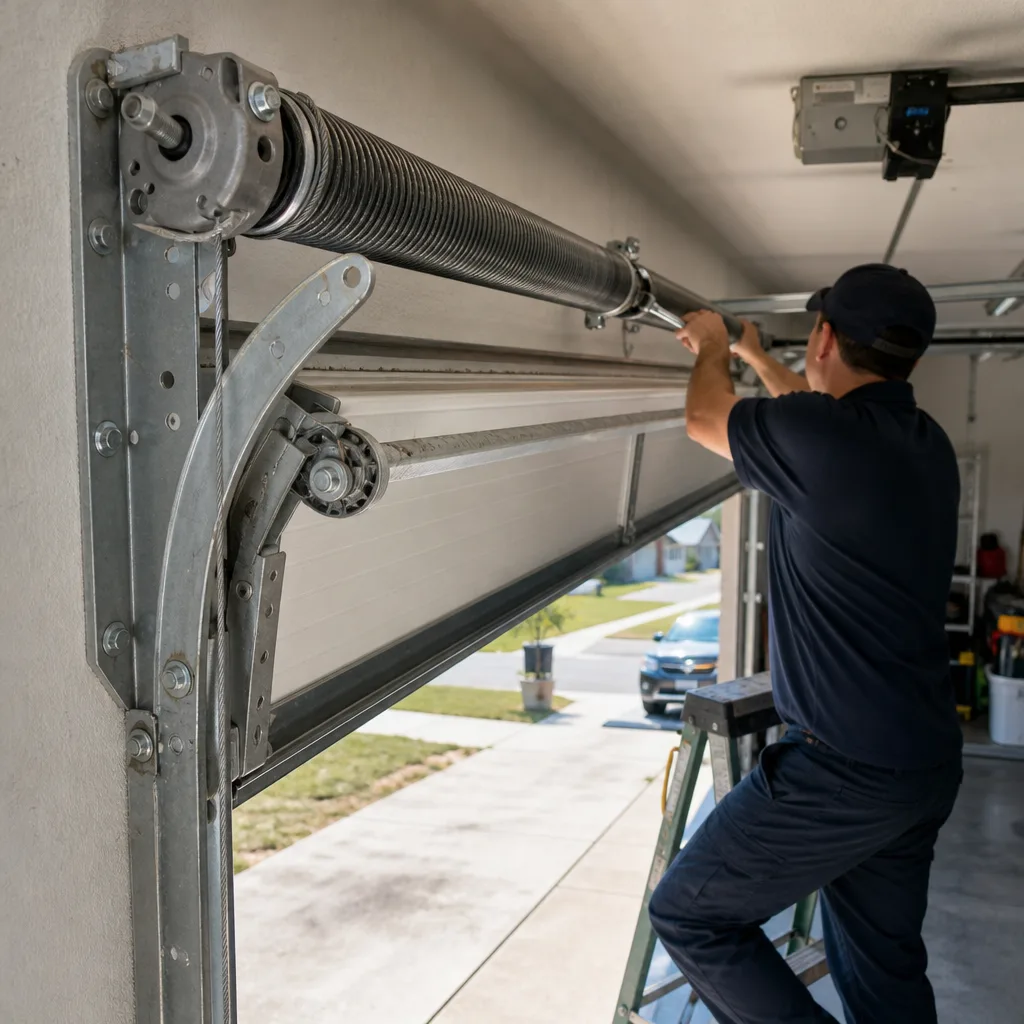 After
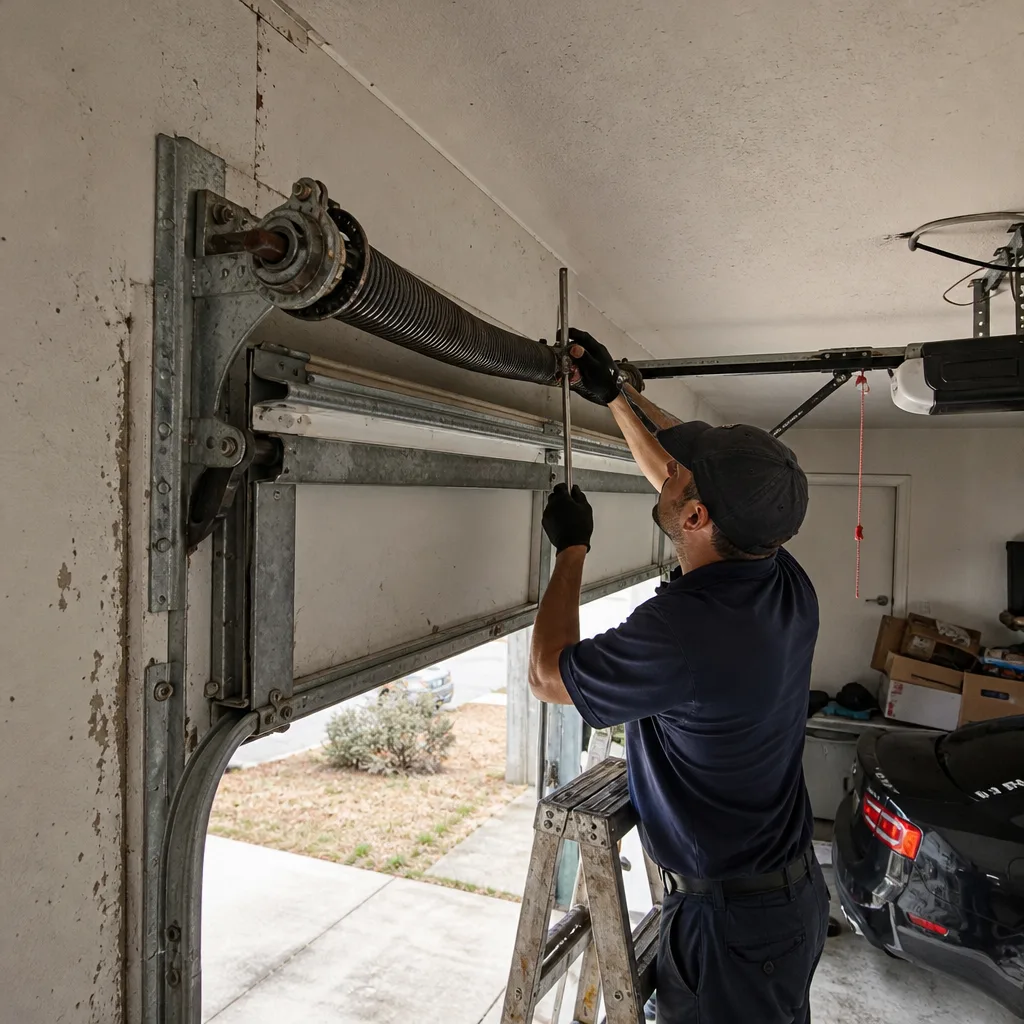 Before
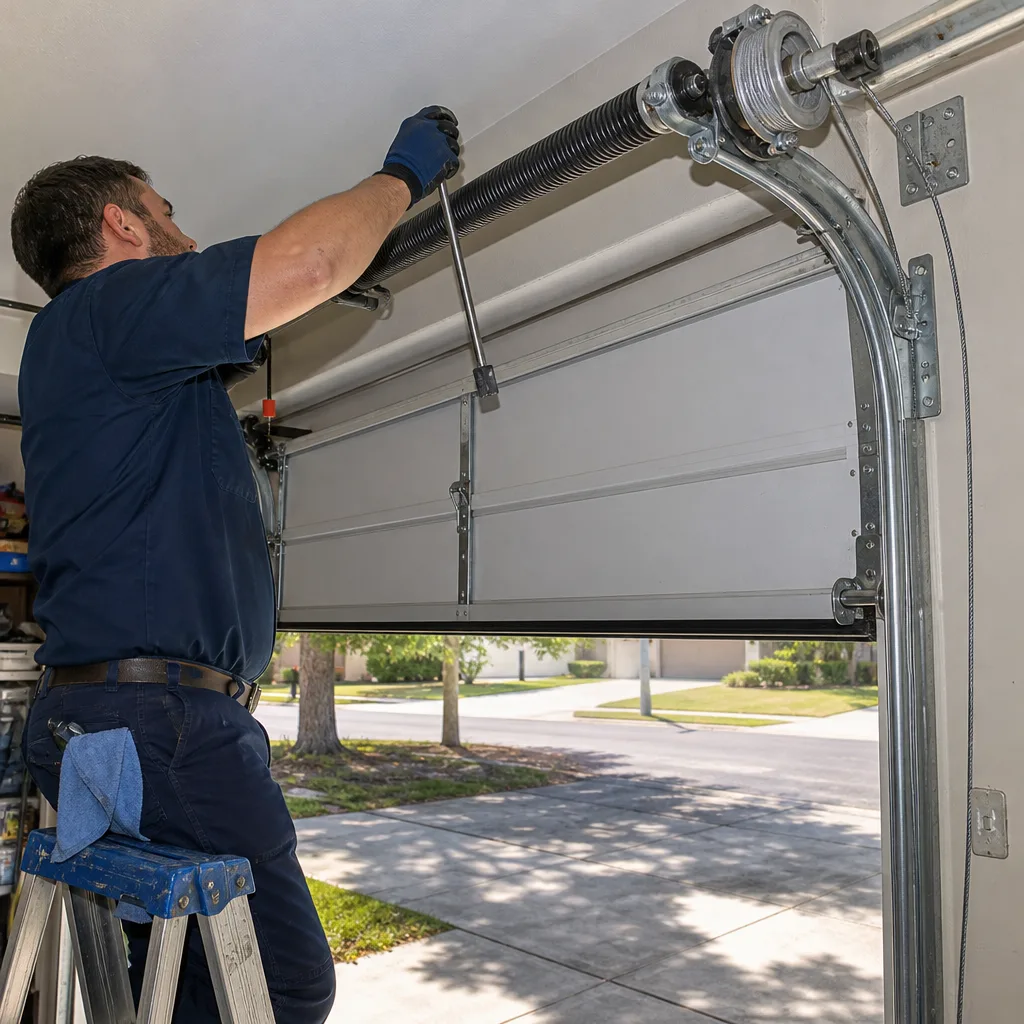 After